For me, I have always followed Ansel Adams. He had the ability to capture images that were sharp front to back. That created a very 3-dimensional feel to his images. Now I know he used very large cameras that had F64 capability’s but he did not use F64 all the time.
To be honest I will tell you I know nothing about focus stacking. I am a traditionalist when it comes to photography. My preference is to create as much of the image in the camera rather than using post processing to do so. Having said that don’t get me wrong, there is nothing bad about using a post process to end up with your photo, it’s just not for me.
Let’s start off talking a little about the lens because it is that part of the camera that controls the DOF. Every lens has a happy spot (that’s what I call it) for sharpness. It is somewhere between F5.6 to F14 depending on the lens. There are websites out there that have tested most of the lenses. You will be able to find out what that happy spot is. Just take the time to look it up. Now that you know what that is why not use it for you captures? Take advantage of the best part of your equipment.
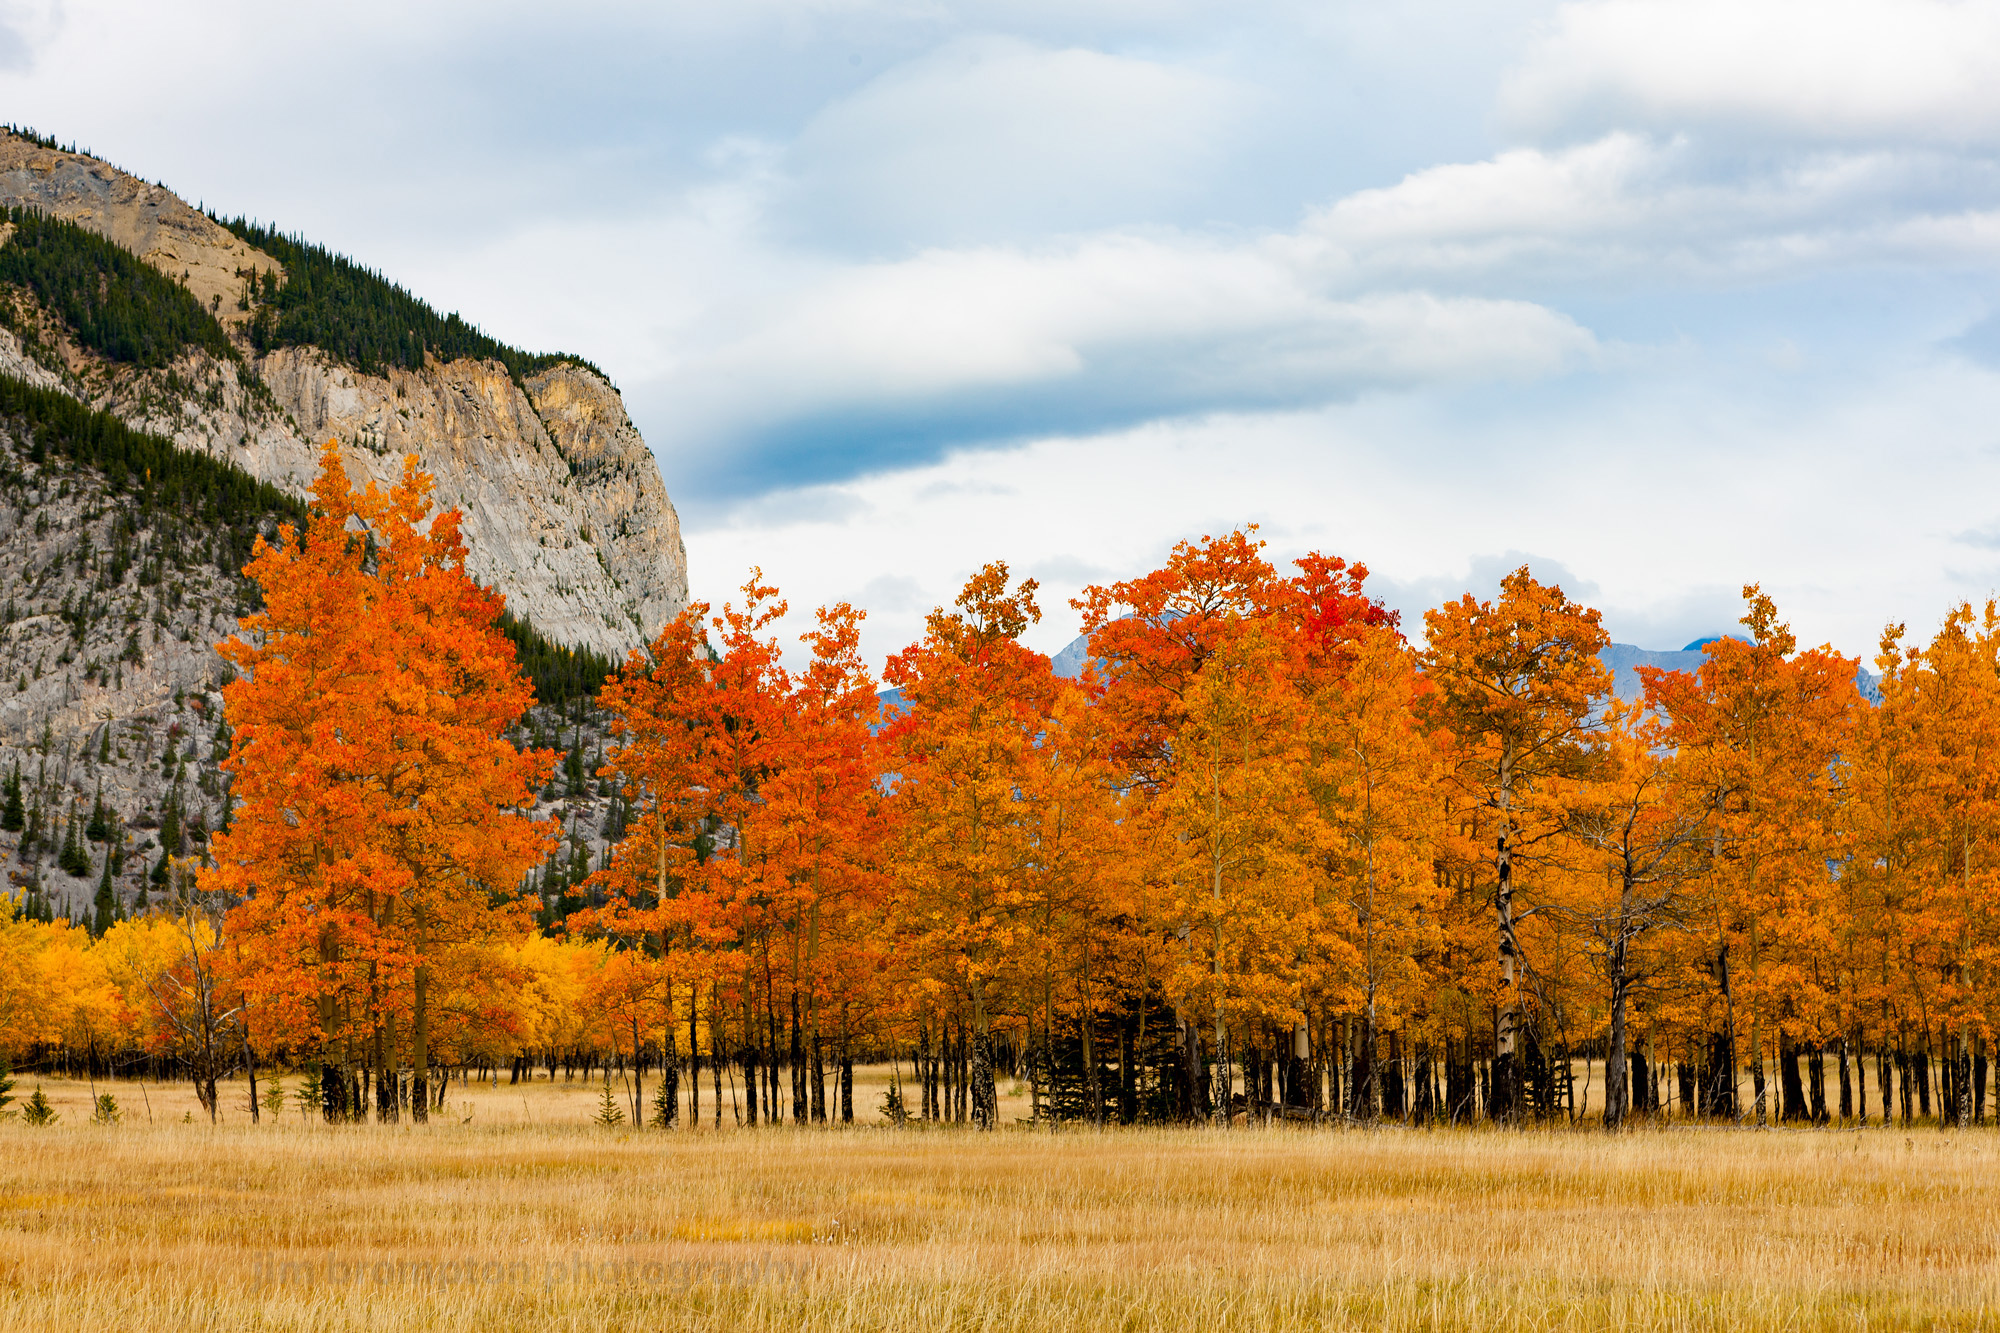
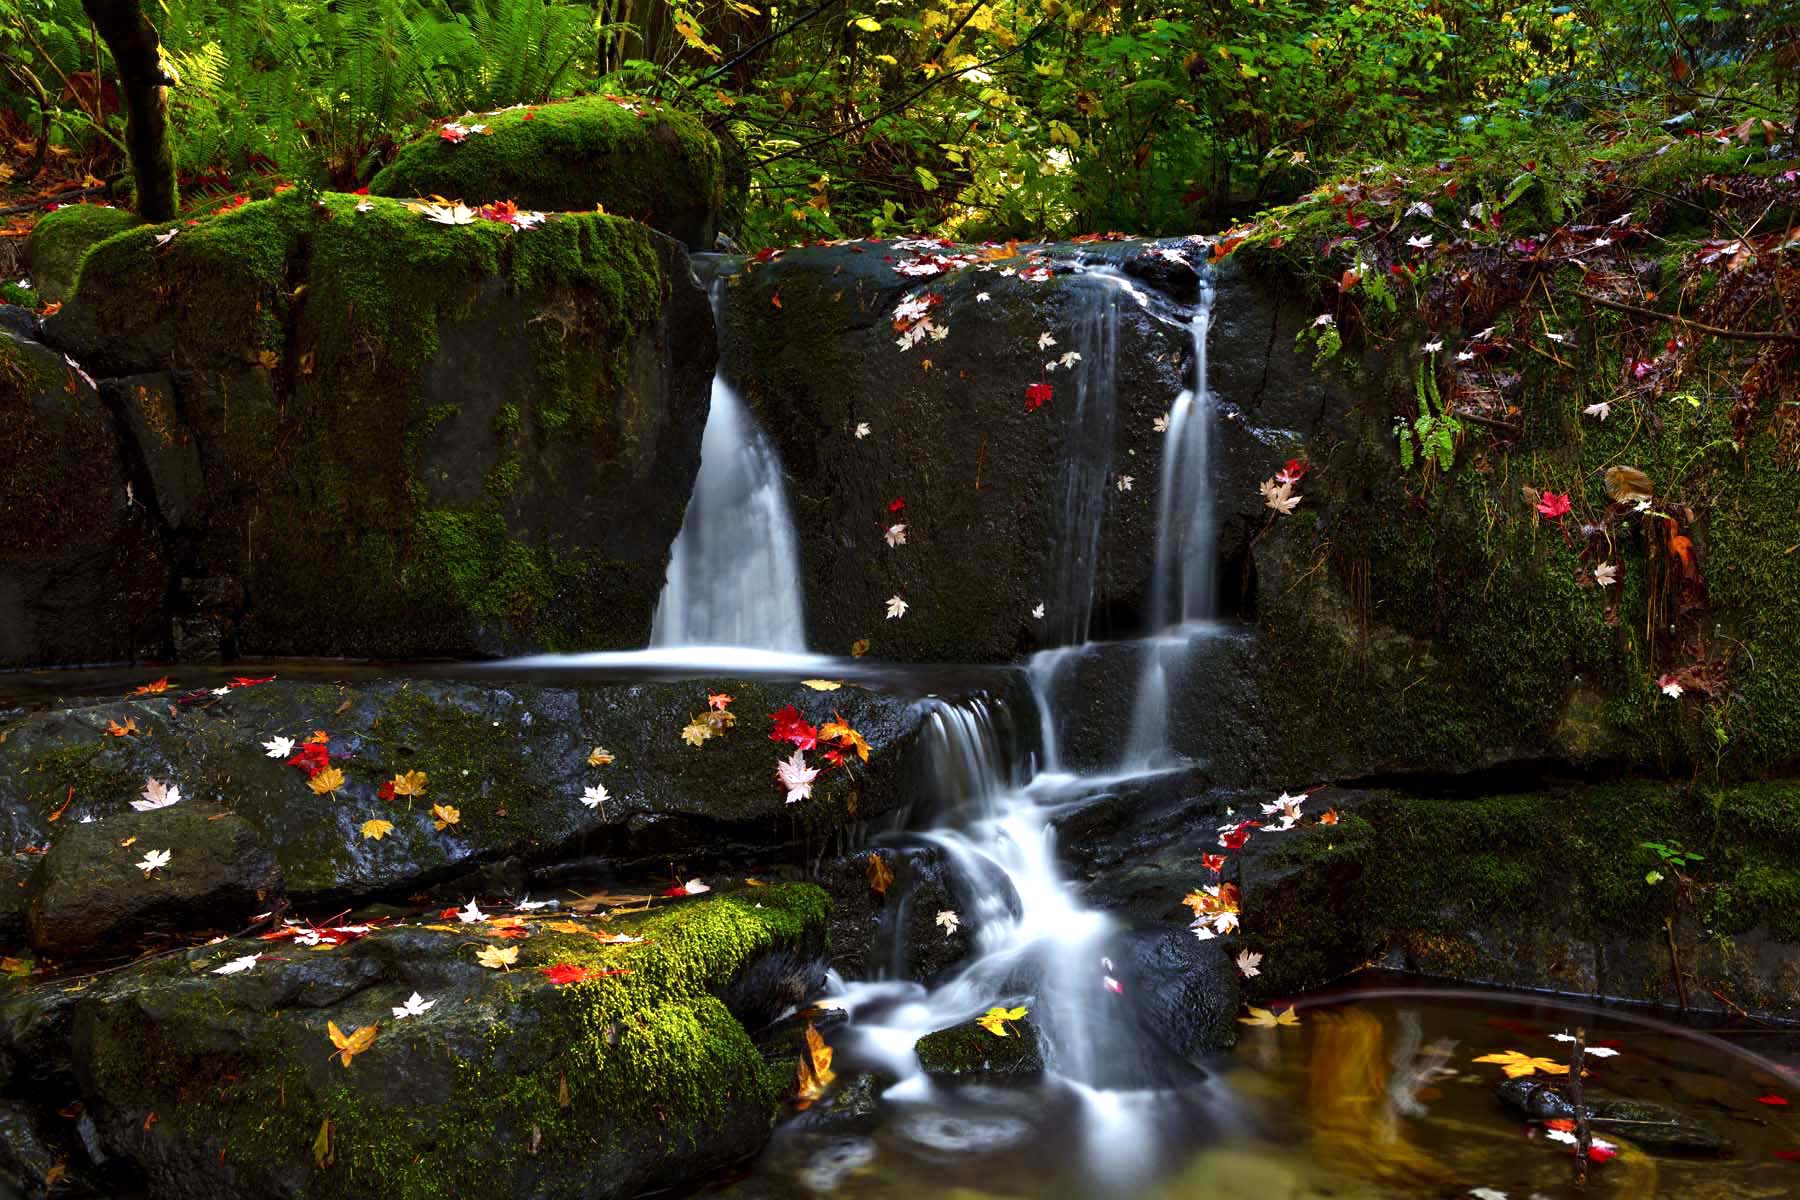
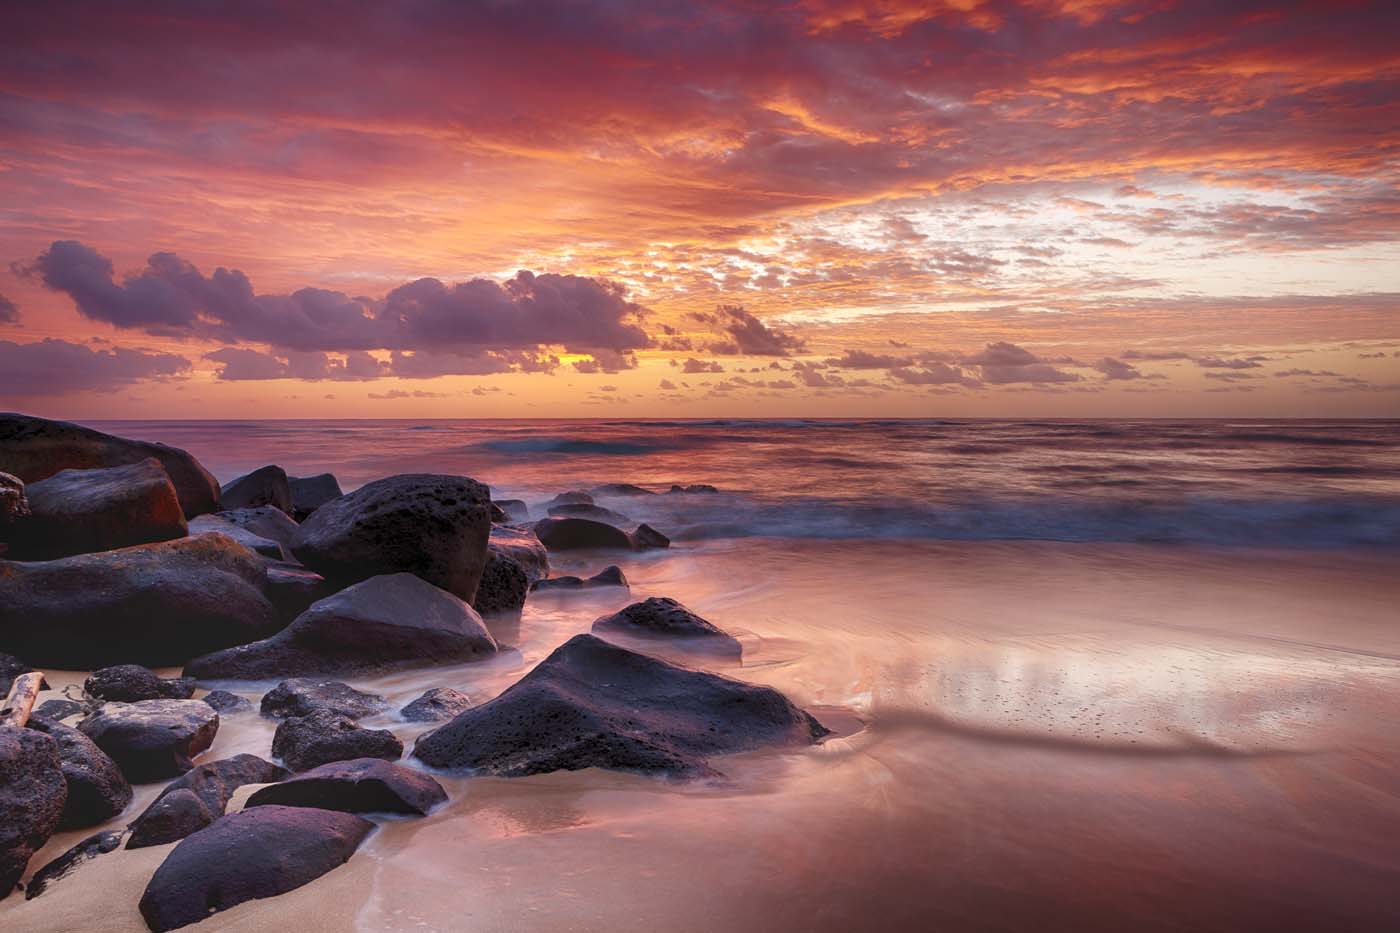
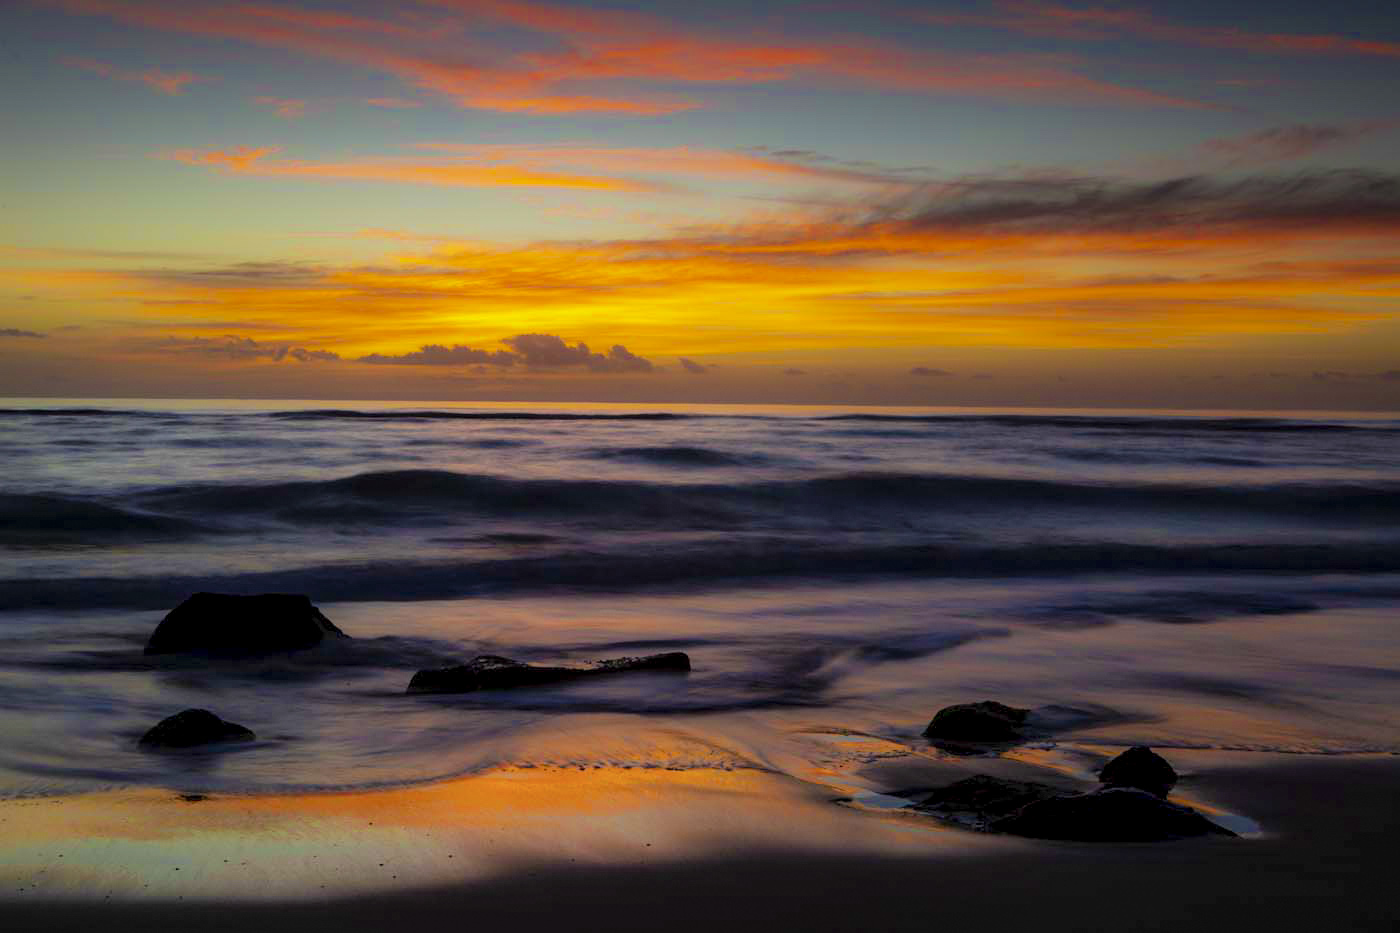
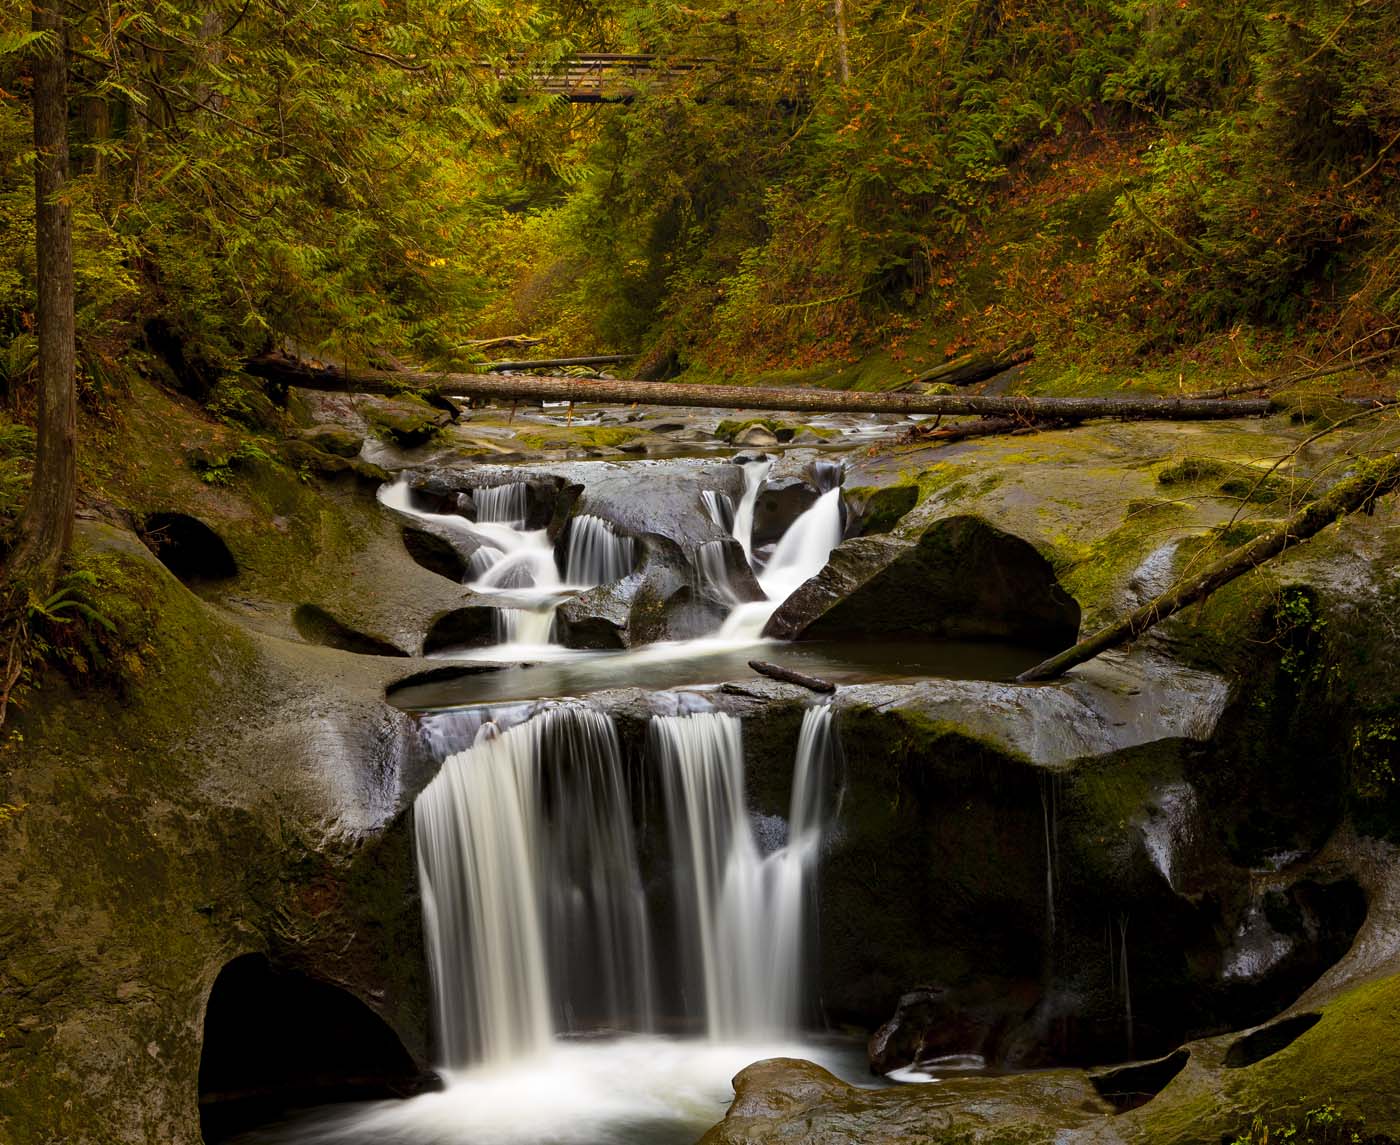
Most of my lenses are the sharpest at F8 to F11. Here is what I do when I am in the field to create a landscape photograph, firstly I need to figure out the distance from the front of the lens to the closest subject matter. If the distance is great enough at F8 to be sharp in the foreground then it will be sharp enough in the background. If you look at the lens it will tell you what is in focus. As an example it will say at 20 feet to infinity is in focus. So you will need to be 20 feet away from the closest part of the image. There is no need to focus stack if you follow this procedure. Here are a few examples of sharp front to back.
Thank you for taking the time to read my post. If you have any further questions please reach out to me. You can contact me directly from this site.
Leave a Reply