To me photography has always been the creation of an image. When I stand in front of my subject matter I always think about the finished product before I begin. What do I want to create? How do I do it? Just take a few minutes out of your day and read on to find out.
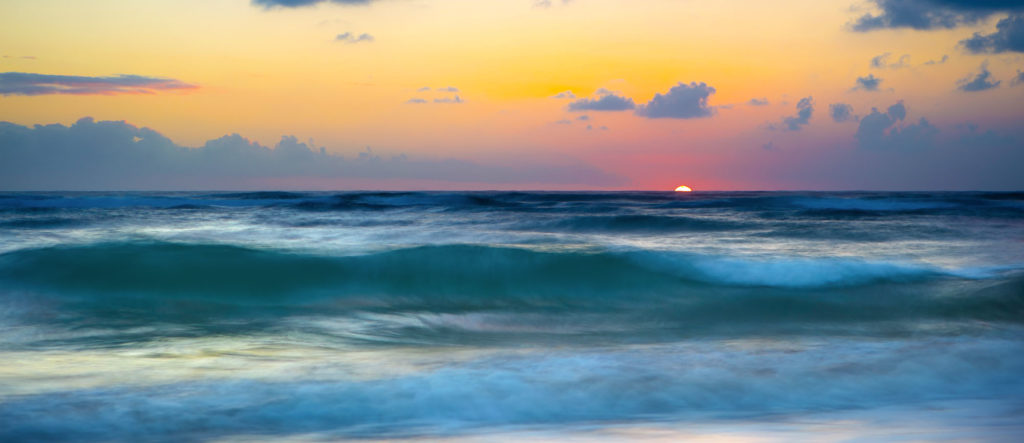
I love to photograph everything natural, oceans, waves, trees, waterfalls, big vistas, and night skies.
It’s the thought process that goes into the creation that is vitally important. So as an example I will write about the natural subject matter I love to capture. I will share a few tips and how to get the very best out of the subject matter you are looking at.
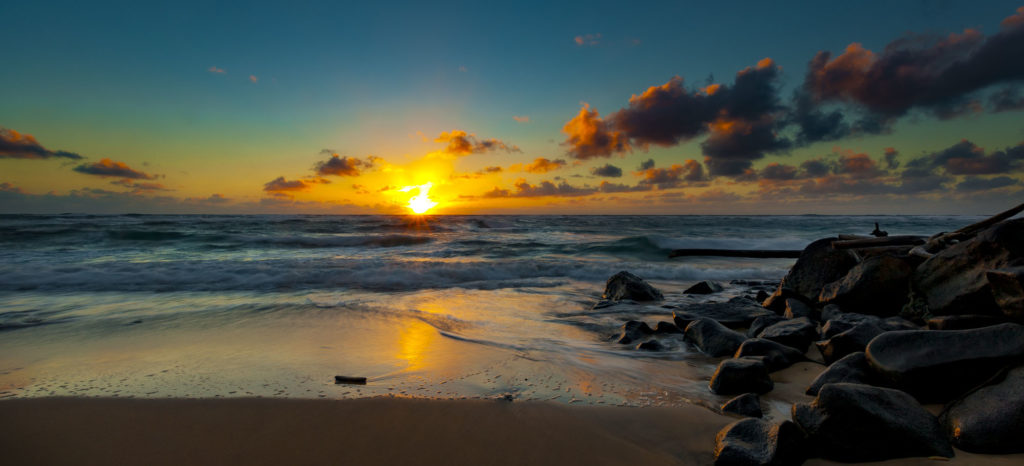
The funny thing about photography is it is always in the moment. The way I get around that is being prepared so when I am going to capture a sunrise I get there early and figure out the light and then figure out what the end result will be. What do I want the finished image to look like? So think about working backwards to achieve this goal.
The use of additional time to the exposure allows you to be creative. It is important to know that by using graduated ND’s we can control brighter portions of the frame. I quite often use multiple Grad ND filters of different density’s to control the light throughout the same frame.
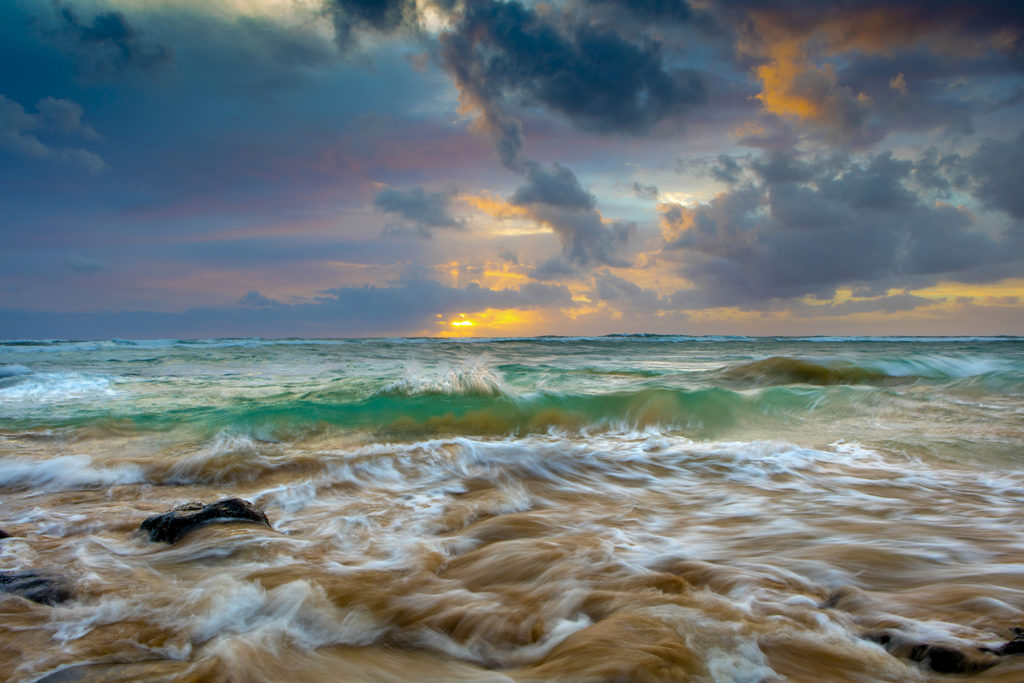
Here are a few tips to get you this result. I always use a polarizer and If you use a polarizer it will add contrast, color, and reduce reflections. When you use a polarizer it will also cost you upwards to 2 stops. This depends on the manufacture of the CPL. The Kase CPL (circular polarizer) that use is less than 2 stops.
My goal on the above image was to create motion in a still image. I wanted the finished product to clearly show the movement of the water and sand and to capture a backlit wave with some detail. The sunrise needed to be perfectly exposed from the horizon line to the top of the frame. I metered on the area where the sand met the wave so that was perfect and then I went from there.
The filters used were a CPL and a 3 stop Grad ND on the top to control the sunrise. I used a 2 stop overall Neutral Density filter to control the sand and wave movement and the final settings were ISO 50 F9 1/6th of a second. I was able to capture what I was thinking about before I started. Post production work was less than 1 minute as the entire scene was managed in the camera with filters.

I am a big believer in being prepared. When you think about it sometimes you only have a minute or two to accomplish your goals. I watch the weather forecast every day to see what it will bring to me in the field.
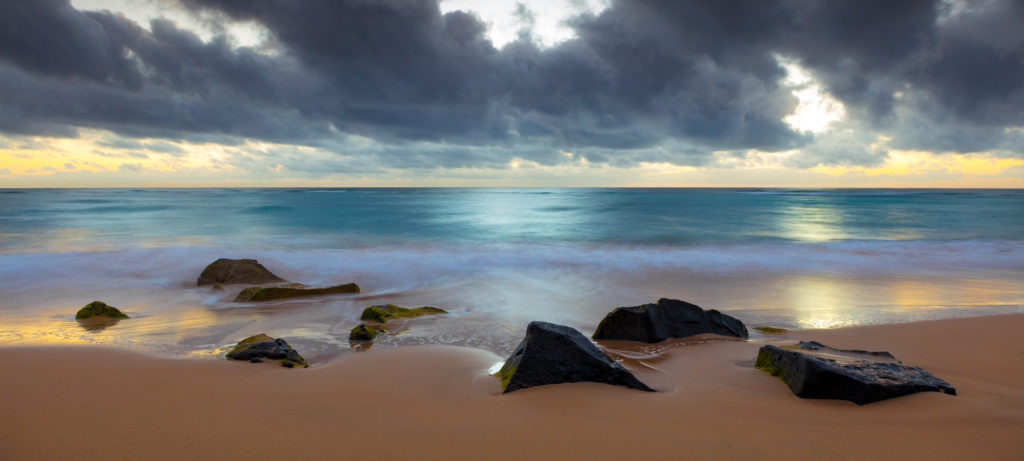
In the image above my goal was to lay the ocean flat. I also had to deal with a much brighter sky than the foreground. After giving it some thought I would need at least a couple of seconds exposure to calm the ocean. I also was aware of the horizon light and it turned out that 3 stops worked very well on the top. There were pockets of light coming through the clouds and I set up the composition to balance the 3 pockets. It involves a bit of scrambling to properly tie in the foreground of the rocks so the image is pleasing. The final setting on this capture were ISO50 F14 2.5 seconds.

This is a crazy image. The thought process into this one was a few steps. I could see the drama in the rain cloud and I want to make sure it was part of the composition. The little pocket of light in the middle (yellow) to me has to be centred. (breaking the rules of photography)The funny thing about this image is I wanted it all along to be a panorama. That was my vision before I set the tripod up on the sand.
It can be difficult to shoot multi stitch images of moving water without seeing a frame break from one to the others. So it was a single image with the plan of cropping the image into a panorama. I knew I would have to shoot it very wide and include some of the beach in the bottom in order to get all the components into the frame as a panorama.
I also could see that I wanted the bottom of the image placed where the sand meets the water. This image turns out to be a repeat seller for me. It is so calming and relaxing and captures nature in all its glory. The image below is the full frame before the crop. The camera I use can handle this print at 90 inches on the longest side without distortion.
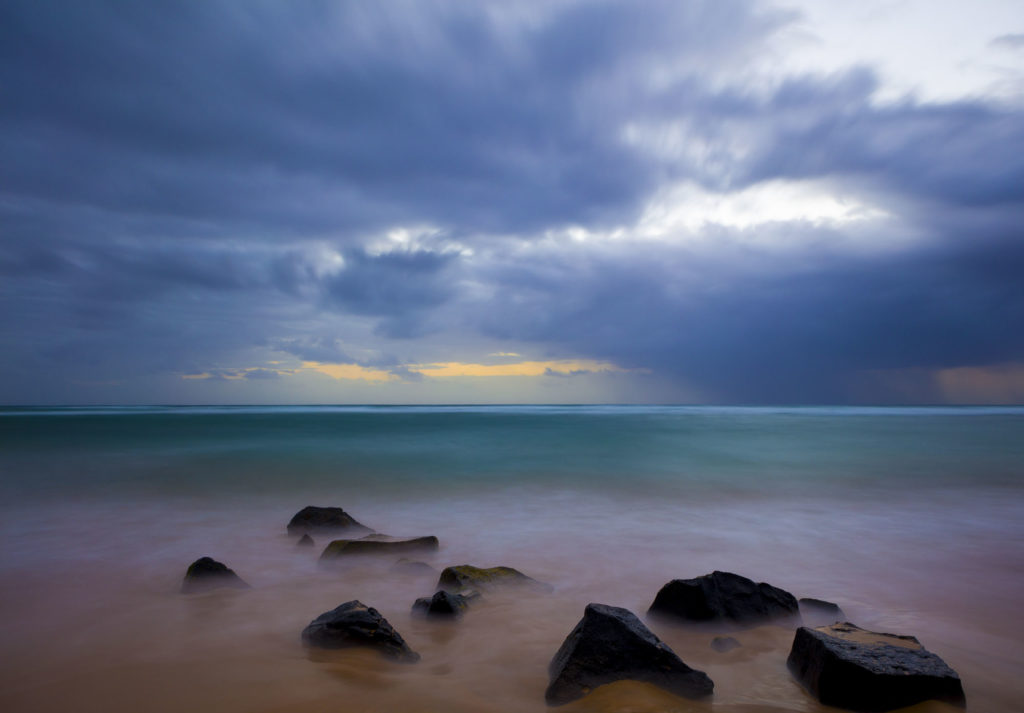
So technically I have captured 2 images in one frame. All you have to do is think about it.
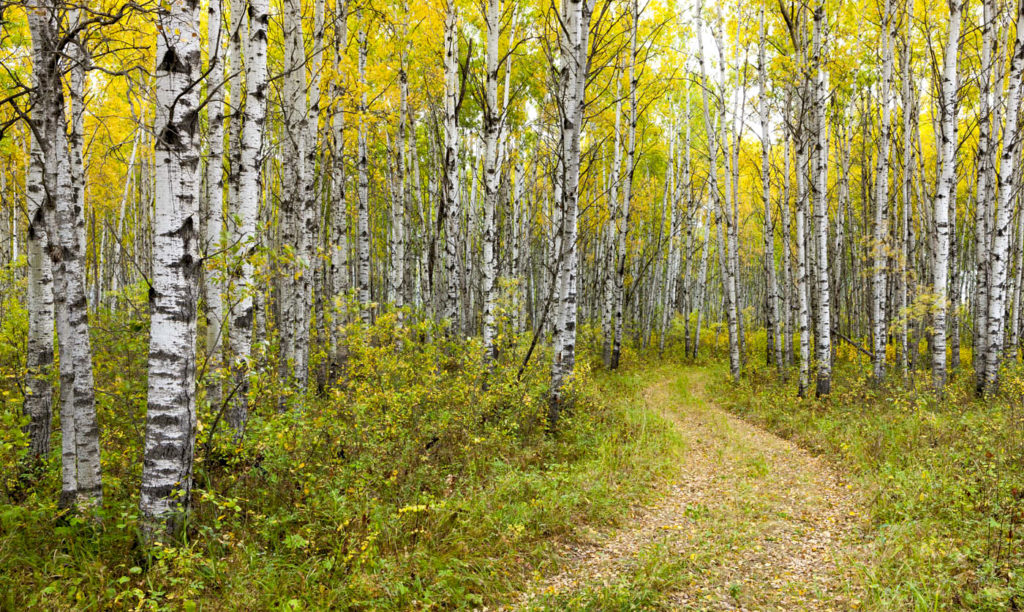
This above image is really no different than the ones I have talked about earlier. Just different subject matter. You must think about it. Stand and look at it and because it is a landscape it’s not going anywhere so take your time. Composition and the placement of the road is critical.
Your tripod must be level both ways vertical and horizontal. If your camera is pointed up or down it will distort the vertical lines of the trees. I really like to shoot these as a multi-stitch and print them very large on canvas to show the texture.
The sun was to my right about 90 degrees on a bit of an overcast day. The CPL did a great job of adding color, greens and yellows and to reduce the glare off the leaves. Exposure of a scene like this is must be nailed. Use the white part of the tree trunk to expose on so the whites are not blown out.
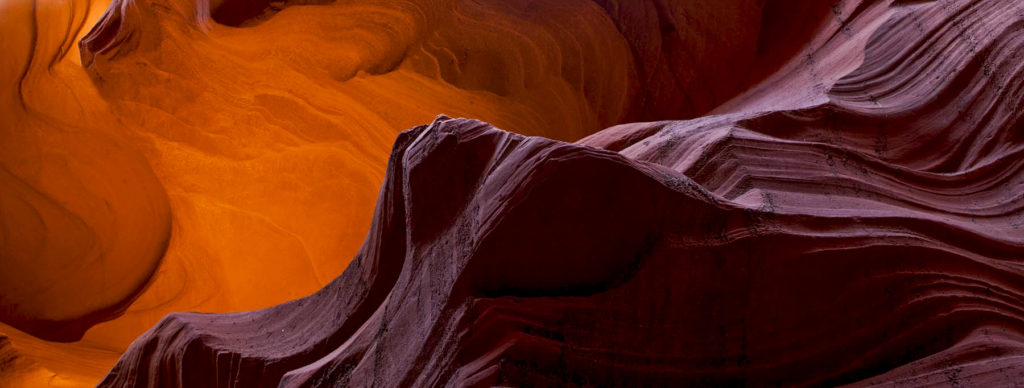
Use color differences to enhance the visual scene. Not only will it draw you in it will also provide depth in the image. The horizontal lines of the rock in front of me caught my eye and I stopped immediately. After moving around for a few minutes I tied the background into the image. I could see the depth it created without looking through the camera. The 1/2 moon of the foreground rock and the round portion of the background rock seem to fit very well. It was shot as a panorama when it was originally captured. Only a CPL was used.
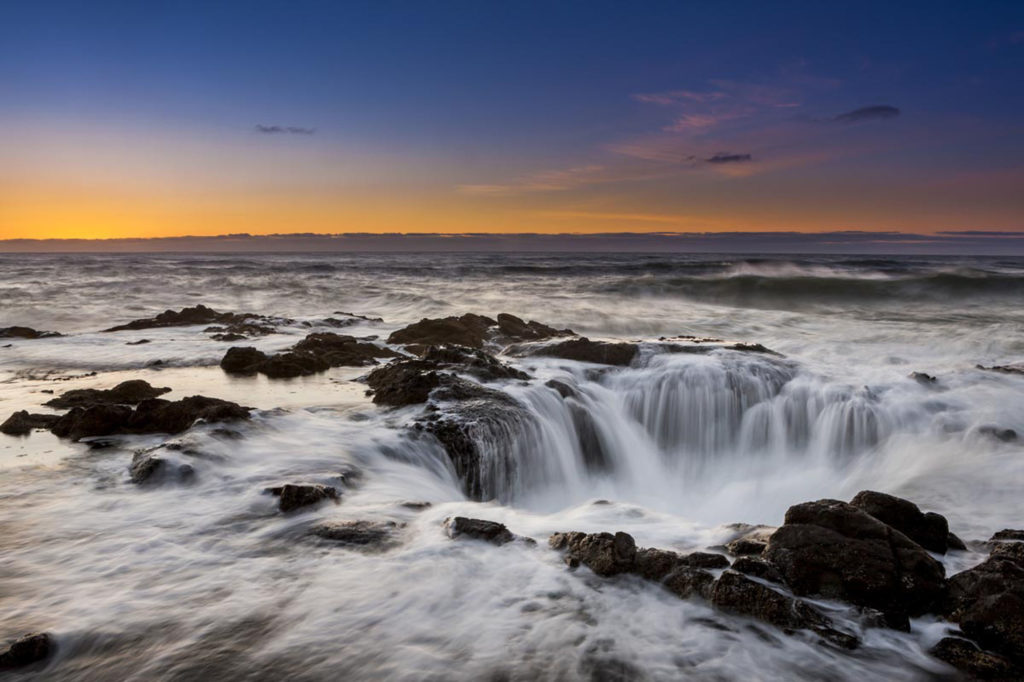
Thors Well is located along the Oregon Coast and I have been to the location many times. The nice part about this location is you can expect a nice sunset. I used 3 filters on this capture. Composition is key at this location.
Most of the natural color is from the left side. The sun has already set. With the use of the grad ND it allowed me to add time to brighten the bottom of the scene to control the light better where the water entered the hole in the ocean. I metered on the top portion to bring more light to the bottom of the image. This location can be dangerous so please be careful.
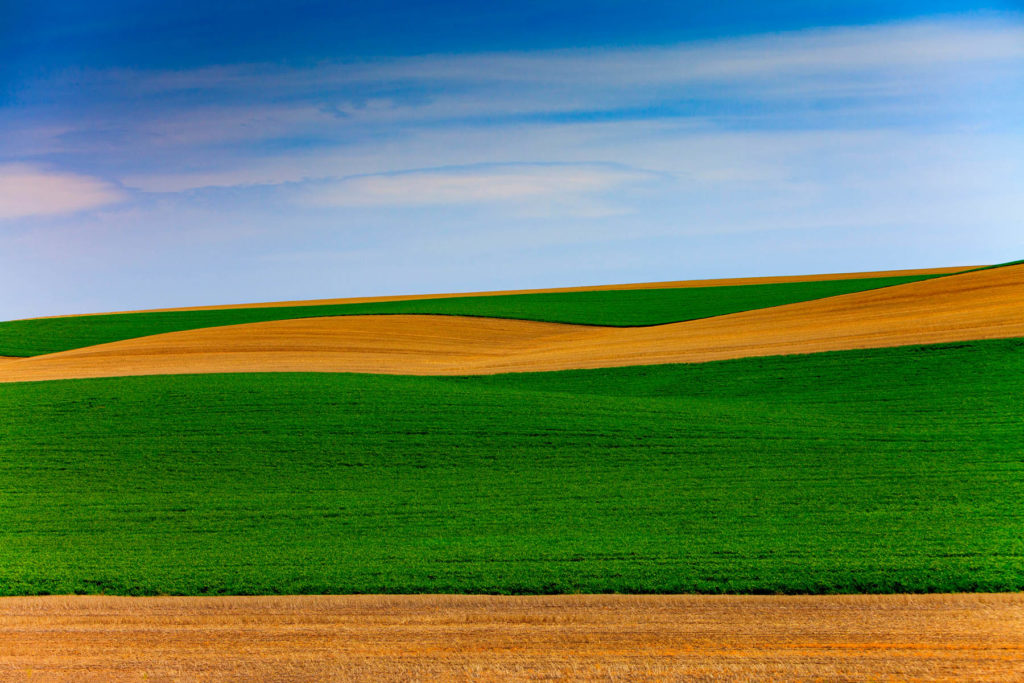
You can use color as composition and I do it all the time. Find locations with different colours either from top to bottom or right to left. The cool thing about this shot is the tripod was level and it enhanced the slope of the hillside. The breaks in the color from green to yellow almost make it look like the color is flowing. The soft blue sky was a real bonus. The circular polarizer is a must for a scene like this.
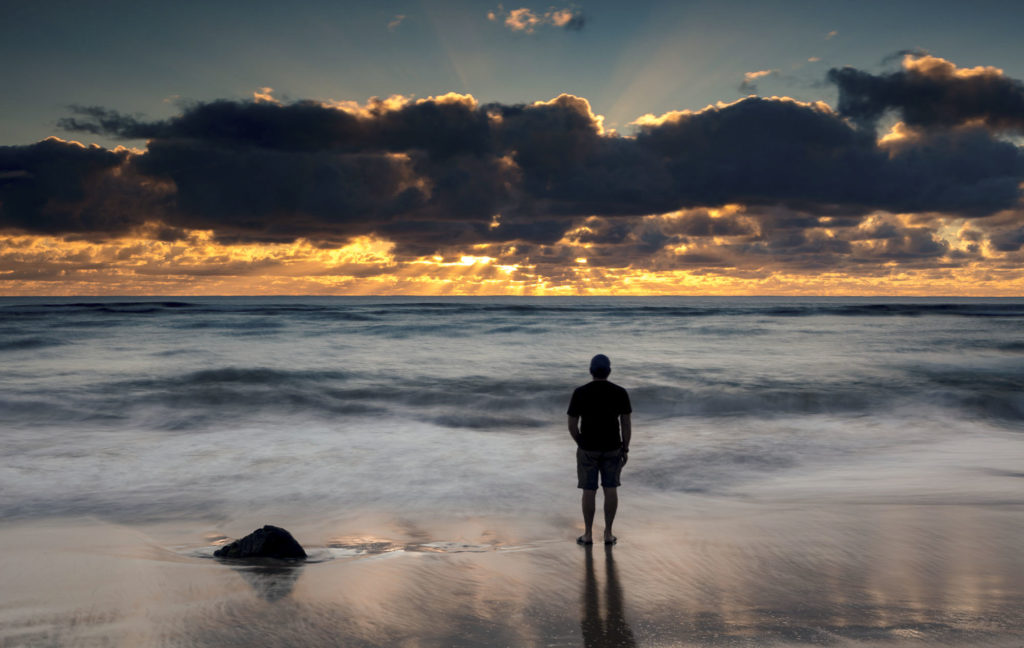
So as I end this blog I would like you to think about your capture before you begin. Give yourself time to get it right in the camera. Look at it, think about it, and then put together a game plan. Traditional photography is all about creating the image the old way when film was around. The use of filters is a must! Thanks for taking time out of you day to read this Blog. Feel free to leave a comment on my face book page if you have any questions.

Leave a Reply